Choosing a DC fan seems simple, but picking the wrong pin count can lead to noise or poor cooling. This mismatch wastes money on features you can't use or leaves your system loud.
The difference between 2-pin, 3-pin, and 4-pin fans lies in control and feedback. A 2-pin fan provides basic power for constant speed. A 3-pin fan adds a tachometer wire to monitor speed, and a 4-pin fan adds a PWM wire for precise speed control.
Choosing the right fan isn't about getting the one with the most pins. It's about matching the fan's features to what your system actually needs. As a fan supplier, I've seen countless projects where the wrong choice led to problems down the line. This guide will walk you through each type so you can understand the trade-offs and make the right decision for your specific application. Let's make sure you get exactly what you need.
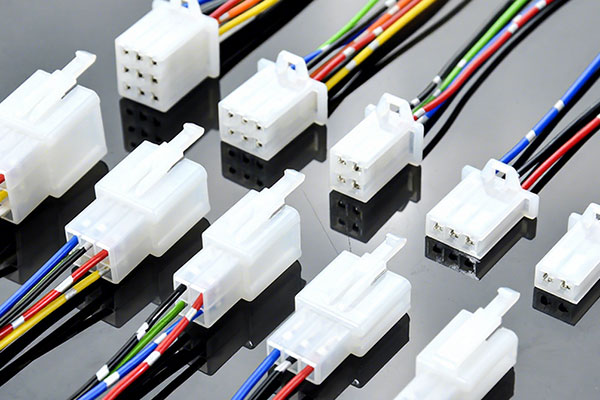
Overview of Fan Connector Types?
Are you confused by the different fan connectors? It's frustrating when you're not sure if a fan will work with your board. We will clarify the differences so you can buy with confidence.
Fan connectors come in 2-pin, 3-pin, and 4-pin versions. Each adds a function: 2-pin is for power, 3-pin adds speed monitoring, and 4-pin introduces dynamic speed control. Understanding this is key to selecting the right fan.
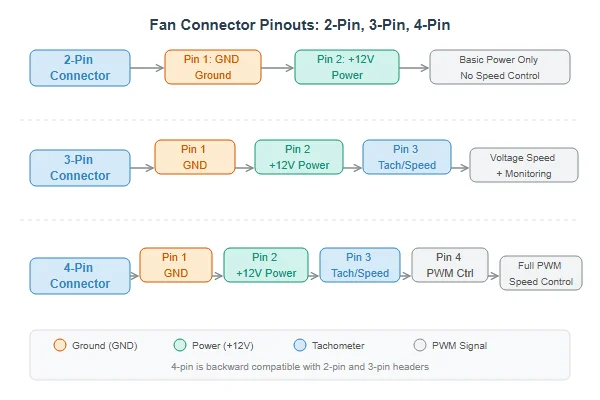
At Herays, we see that the most common mistake isn't a faulty fan, but a mismatched fan connector for the job. The choice is a trade-off between simplicity, cost, and control. Each additional pin provides a new capability, and your job as an engineer or builder is to decide which capabilities are essential for your project. A simple way to look at the wiring is to see what each pin does.
Fan Pinout Functions
| Pin Count | Pin 1 (Black) | Pin 2 (Red) | Pin 3 (Yellow) | Pin 4 (Blue/Green) |
|---|---|---|---|---|
| 2-Pin | Ground (-) | Power (+) | - | - |
| 3-Pin | Ground (-) | Power (+) | Tachometer/Sense | - |
| 4-Pin | Ground (-) | Power (+) | Tachometer/Sense | PWM Control1 |
Understanding this table is the first step. Next, we will explore what these functions mean in real-world applications.
2-Pin Fan: Constant Speed?
Do you need simple, reliable airflow? A basic 2-pin fan seems easy, but it runs at full speed all the time. This can mean unnecessary noise and energy use in your system.
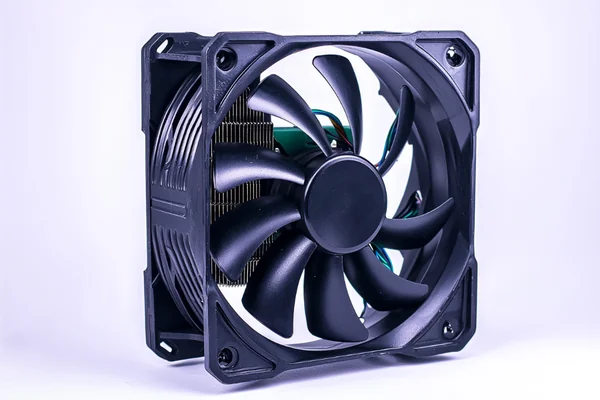
A 2-pin fan has two wires: a positive (red) and a ground (black). It receives a constant voltage and runs at 100% speed. This makes it ideal for simple applications where you need consistent, "always-on" ventilation.
A 2-pin fan is the workhorse of the cooling world. It’s a "set it and forget it" solution. Once it gets power, it runs at its maximum rated speed until the power is cut. There is no communication back to the system.
When to Use a 2-Pin Fan
I often recommend 2-pin fans for applications where conditions are stable and noise is not the primary concern. Think of a control cabinet for industrial machinery that needs constant ventilation to prevent heat buildup, or a simple power supply that requires continuous airflow regardless of load. In these cases, the simplicity and low cost of a 2-pin fan make it the perfect choice. You just need to move air, and you need it to happen all the time.
The Risks of Using a 2-Pin Fan
The biggest downside is the lack of control. The fan is always on at full blast, which means it’s always making its maximum noise. For an office PC or home electronics, that constant hum would be a major drawback. More importantly, you have no way of knowing if the fan has failed unless you physically check it. For critical systems, this lack of feedback is a significant risk.
3-Pin Fan: Voltage Control?
Your system needs to know if a fan fails, but you are not sure how. A 3-pin fan seems like a good step up, but many people misunderstand what that third pin actually does.
The third pin on a 3-pin fan is a tachometer signal. It reports the fan's speed back to the system, enabling failure detection. It does not directly control the speed, though some controllers can adjust speed by varying the fan's voltage.
The third pin is a game-changer for reliability. It’s all about monitoring. This is where we move from simple cooling to creating a smarter, more reliable system.
The Power of the Tachometer Signal
The yellow wire provides a Frequency Generator (FG) or "Tach" signal. The fan sends out a series of electrical pulses as it spins. The motherboard or fan controller counts these pulses to calculate the fan's speed in Revolutions Per Minute (RPM). We see this used all the time in servers, medical devices, and telecommunications equipment. If the controller detects an RPM of zero, it can trigger an alarm, alert an operator, or even shut the system down to prevent catastrophic overheating. This single wire adds a crucial layer of protection.
A Note on "Voltage Control"
Here is a common point of confusion. Many people think the third pin controls speed. It doesn't. However, some motherboards and controllers can adjust the speed of a 3-pin fan by lowering the voltage sent through the red power wire. This is called DC control. It works, but it's less precise than PWM and has limits. If you lower the voltage too much, the fan motor might not have enough power to start spinning, causing it to stall.
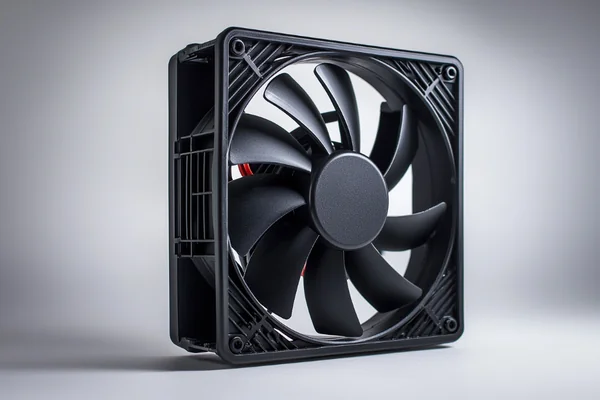
4-Pin Fan: PWM Control?
Do you want a system that is powerful when needed but silent at idle? A fan that runs at full blast is too loud, but one that is too slow can cause overheating under load.
The fourth pin on a fan adds a Pulse Width Modulation (PWM) control signal. This allows a controller to precisely adjust the fan's speed based on temperature, balancing cooling performance with noise levels for optimal thermal management.
This is the smartest type of fan and the one we recommend for almost any application with a variable thermal load. It offers the best of both worlds: powerful cooling when you need it and quiet operation when you don’t.
How PWM Creates Smart Cooling
Instead of changing the voltage, a 4-pin fan always receives a full 12V. The fourth pin carries a special signal that tells the motor to turn on and off very rapidly. The "duty cycle," or the percentage of time the signal is "on," determines the average speed. This gives you a very wide and precise range of control, often from 20% to 100% of the fan's maximum RPM. For a gaming PC builder, this is essential. It means the fans can spin quietly while you browse the web, then instantly ramp up to full speed when you launch a demanding game, keeping your CPU cool.
Why It's the Modern Standard
Because of this balance of performance and acoustics, 4-pin PWM fans are now the standard for modern PCs, 3D printers, and many other advanced electronics. They allow systems to adapt to their workload in real-time. This not only keeps the system quiet but also improves energy efficiency and can extend the life of the fan by not running it at maximum speed all the time.
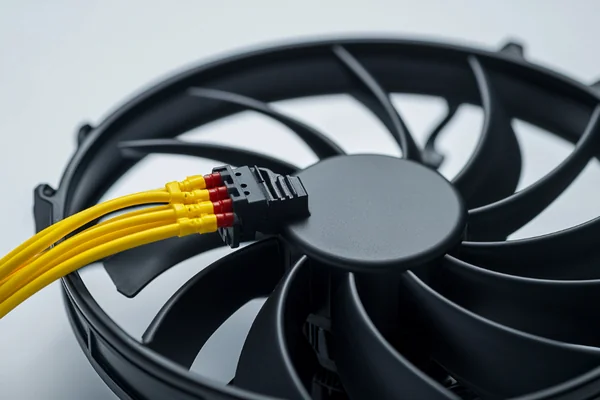
How to Connect Fans to Motherboard or Controller?
You have chosen your fan, but now you are staring at the motherboard. Plugging a fan into the wrong header can mean you lose features, or the fan might not run at all.
Always try to match your fan's pin count to the header. A 4-pin fan can plug into a 3-pin header (and a 3-pin fan into a 4-pin header), but you will lose features. A notch on the connector ensures it only fits one way.
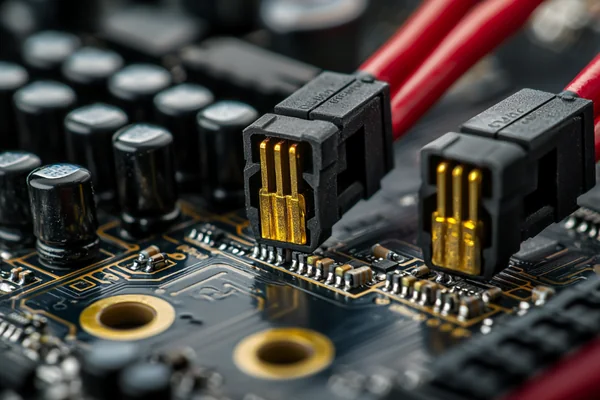
The connectors are designed to be physically compatible, which is both helpful and a little confusing. The plastic guide or "key" on the connector ensures you can’t plug it in backward, but it does allow for mixing and matching. Here is what happens when you connect different fan types to different headers.
Fan Connection Compatibility Guide
| Fan Type | Header Type | Resulting Behavior |
|---|---|---|
| 2-Pin Fan | Any Header | Fan runs at 100% speed. No control or monitoring. |
| 3-Pin Fan | 3-Pin Header | Fan runs at 100% or is voltage-controlled. RPM monitoring works. |
| 3-Pin Fan | 4-Pin Header | Fan runs at 100% or is voltage-controlled. RPM monitoring works. No PWM. |
| 4-Pin Fan | 4-Pin Header | Full PWM speed control and RPM monitoring. This is the ideal setup. |
| 4-Pin Fan | 3-Pin Header | Fan runs at 100% speed. You lose all PWM speed control. |
My final piece of advice is simple: check your documentation. Your motherboard or controller manual is your best friend. It will clearly label the fan headers (e.g., CPU_FAN, CHA_FAN1) and tell you if they support PWM. Matching the fan to the header's capability ensures you get the performance, control, and reliability you paid for.
Conclusion
Choosing the right fan isn't about getting the most pins; it's about matching the control and feedback features to your system's specific cooling and noise requirements.
"What is this 4-pin fan header? - Electrical Engineering Stack Exchange", https://electronics.stackexchange.com/questions/711695/what-is-this-4-pin-fan-header. Industry specifications, such as Intel's 4-Wire PWM Fan standard, detail the pin assignments for fan connectors. Pin 1 is typically Ground, Pin 2 is Power, Pin 3 is the Tachometer signal, and Pin 4 (if present) is for PWM control. Evidence role: general_support; source type: institution. Supports: A source should detail the standard pin assignments for 2, 3, and 4-pin DC fan headers, including Ground, Power, Tachometer/Sense, and PWM Control.. Scope note: The source may note that while pin functions are standardized, wire colors can vary between manufacturers. ↩
Liang
I've been working with DC fans for 30 years — long enough to have seen the industry evolve from basic sleeve bearing designs to today's high-efficiency, IP68-rated systems built for the harshest environments imaginable. I founded Herays because I believed manufacturers and engineers deserved a supplier who could talk technical from day one. Not just hand over a datasheet, but actually help you select the right fan for your thermal load, your enclosure, your certification requirements. Most of what I write here comes directly from problems I've solved on the factory floor or in customer applications — medical devices, laser equipment, industrial automation, you name it. If it involves moving air efficiently and reliably, I've probably spent time thinking about it. When I'm not obsessing over airflow curves, I'm usually helping a customer figure out why their cooling system isn't performing the way their simulation said it would.
View all posts by Liang